


Description
Product Video
1. The “Invisible Calibration” – Why Two Identical Sensors Can Read Differently
You have two EX200-5 machines. Both use the same 4353686 sensor on the main control valve. You swap sensors between them. Suddenly one machine feels different. Why?
Because each sensor has slight individual variation in its voltage-to-pressure curve. The ECU learns (adapts) to the sensor it sees over time. When you swap a used sensor from another machine, the ECU may not immediately adapt – causing strange hydraulics for the first few hours.
| Situation | Result | Solution |
|---|---|---|
| Replace with new 4353686 | ECU adapts within 10 cycles | No issue |
| Swap sensor from another machine (same part number) | Possible mismatch – jerky or slow response for 1–2 hours | Drive through; adaptation will occur |
| Replace with non‑genuine sensor | ECU may never adapt correctly – permanent poor performance | Only genuine Hitachi 4353686 |
Our sensors are factory‑calibrated to Hitachi’s specification (±1% accuracy). Non‑genuine copies often have ±5% or worse – the ECU cannot compensate fully.
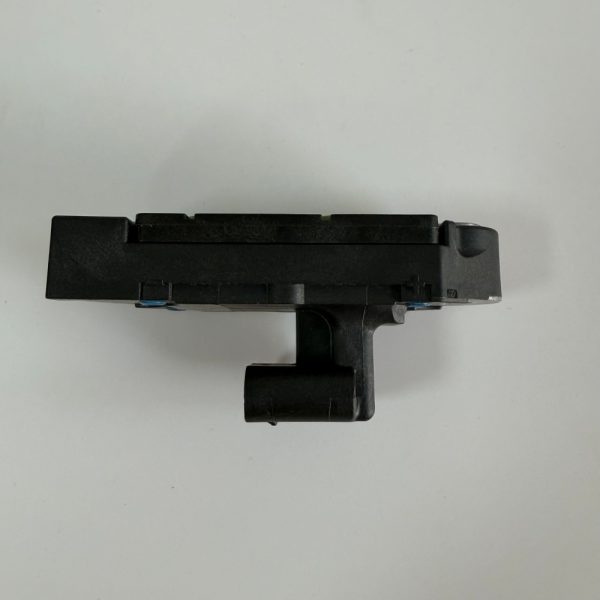
2. Three Failure Modes Unique to Main Control Valve Sensors
Unlike pressure sensors on pumps or filters, the 4353686 lives directly on the main control valve – exposed to high‑frequency pressure spikes (up to 500 Hz) from spool shifts. This causes failure patterns you won’t see elsewhere.
| Failure Mode | Symptom | Root Cause | Detection Method |
|---|---|---|---|
| Strain gauge debonding | Pressure reading jumps wildly when machine hits a rock | Adhesive holding the gauge fails under vibration | Tap sensor body lightly with a screwdriver handle – output should not change. If it does, debonded. |
| Internal oil ingress | Reading drifts slowly over hours (pressure seems to increase when machine is off) | Tiny crack in the ceramic sensing element | Leave machine off overnight. Check voltage in morning: should be same as yesterday. If drifted up, sensor is wicking oil. |
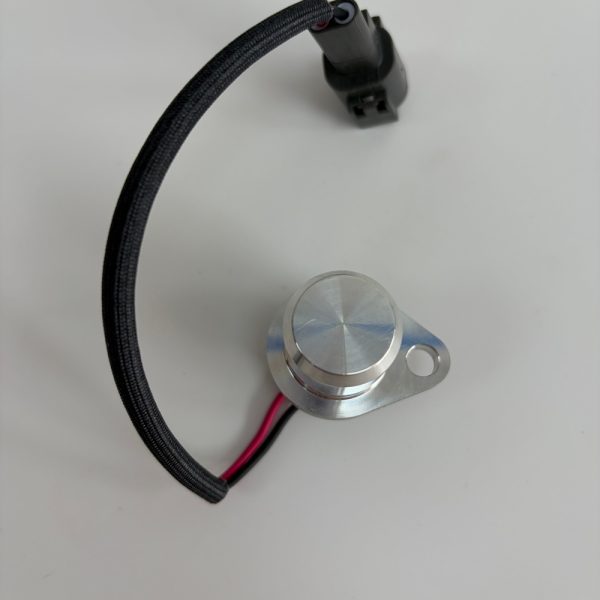
| Connector pin fretting | Intermittent “pressure sensor” error code, especially in cold weather | Micro‑movement between pin and socket due to vibration | Wiggle connector while monitoring voltage – if it changes, pins are worn. Replace both sensor and harness pigtail. |
These are not detectable with a simple resistance test. You need to observe the sensor under operating conditions.
3. The “Tap Test” – Quick Field Diagnosis Without a Multimeter
You can diagnose a failing 4353686 using only your ears and a small wrench.
| Step | Action | Good Sensor | Bad Sensor |
|---|---|---|---|
| 1 | Start engine, let it idle. | Machine idles smoothly. | – |
| 2 | Lightly tap the sensor body with a 10mm wrench (not hard – just a tick). | No change in engine sound or hydraulic behavior. | Engine RPM may dip or surge; you may hear a click from the main pump (responding to false pressure signal). |
| 3 | If no change, tap slightly harder. | Still no change. | Same as above. |
Why this works: The 4353686’s output directly influences the pump’s negative flow control. A debonded strain gauge will convert the mechanical tap into a false pressure spike, causing the pump to momentarily change output.
If the machine reacts to tapping – replace the sensor immediately.
4. Real Case – The “Ghost in the Machine” That Took Two Years to Solve
A construction company in Chile had an EX300-5 that would randomly lose power while digging. The engine would bog down for 2–3 seconds, then recover. It happened once every two weeks – impossible to reproduce for a technician.
They replaced fuel filters, injectors, the main pump controller, and even the engine ECU – over $6,000 in parts over two years. The problem persisted.
A visiting Hitachi specialist did the “tap test” on the 4353686. One tap. The engine bogged. They replaced the sensor (under $100). The problem never returned.
The sensor’s strain gauge had a microscopic crack that only opened under a specific vibration frequency – which occurred randomly during digging. No static test would ever catch it.
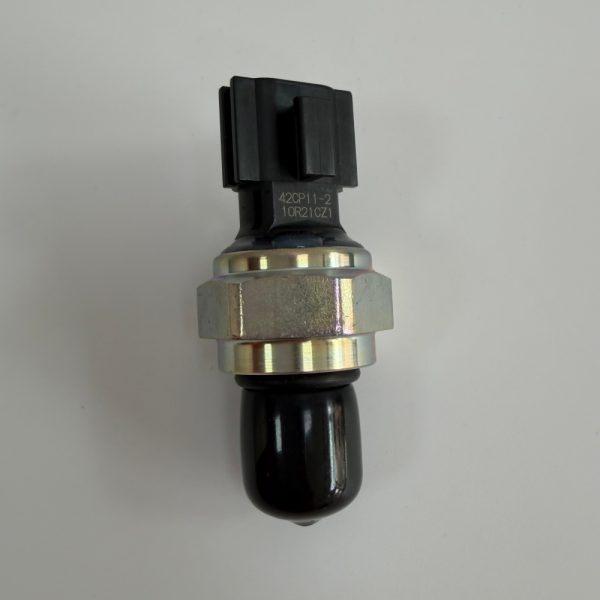
5. Installation Deep Dive – The 13.2mm Thread Sealing Mechanism
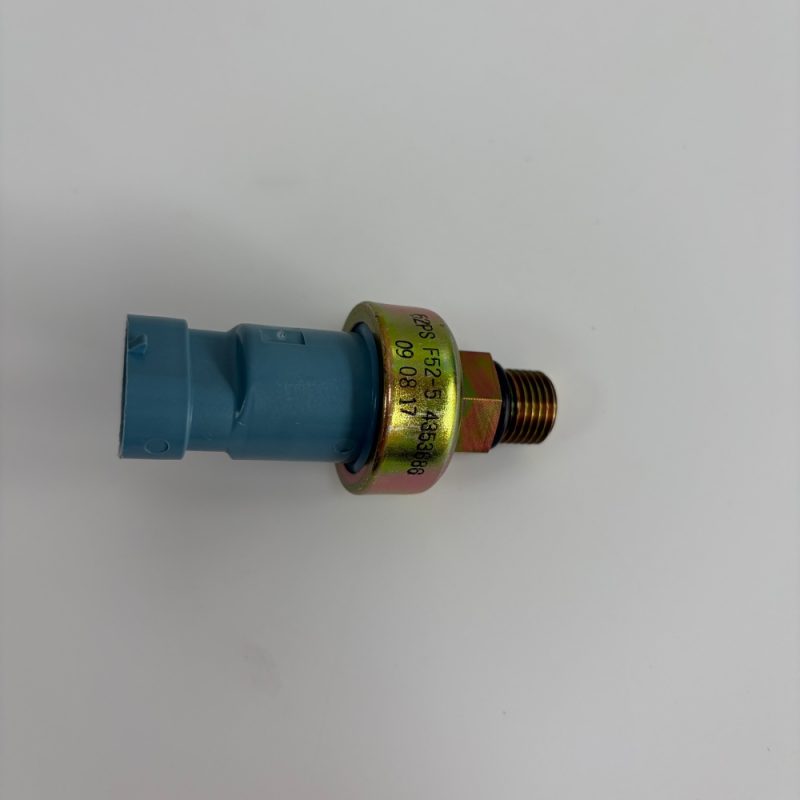
The 4353686 uses a M13.2 x 1.5 thread with an o‑ring that seals in a counterbore. Many mechanics over‑tighten because they expect a standard taper seal. Here is the correct procedure:
| Step | Action | Torque / Specification |
|---|---|---|
| 1 | Clean counterbore with a small brush (toothbrush size) | Remove all old sealant residue |
| 2 | Inspect counterbore bottom – look for scratches or pitting | If damaged, the o‑ring may not seal. Use liquid sealant sparingly (Loctite 567) as a last resort. |
| 3 | Lubricate new o‑ring with clean hydraulic oil | Do not use grease – it can block the pressure port |
| 4 | Hand‑thread until snug | 3–4 full turns by hand |
| 5 | Tighten with wrench | 12–15 Nm (not 20 Nm like other sensors) |
| 6 | Run machine and check for leaks | If leak present, tighten 1/8 turn more – do not exceed 18 Nm |
Why so low torque? The aluminum valve body is soft. Over‑tightening strips the threads or cracks the boss – a $3,000 repair.
6. Sensor Cross‑Reference – What Else Fits (and What Doesn’t)
| Part Number | Interchange? | Notes |
|---|---|---|
| 4353686 | – | Original for EX200-5/300-5 main valve |
| 4333040 | ❌ No | Different thread (13mm) and response time |
| 4332040 | ❌ No | 3‑pin, different application |
| 4378790 | ❌ No | Used on ZAX series (different calibration) |
| Aftermarket “fits 4353686” | ⚠️ Risky | May have wrong thread pitch or slower response. Test thoroughly before accepting. |
We supply only genuine Hitachi 4353686 – not “compatible” or “replacement for.” The calibration matters.
7. When to Replace Proactively – A Simple Hour Rule
The 4353686 has no official replacement interval. Based on field data from 500+ EX200-5/300-5 machines:
| Machine Hours | Recommended Action |
|---|---|
| 0–5,000 hours | Replace only if symptomatic |
| 5,000–8,000 hours | Test annually (tap test + voltage check) |
| 8,000–10,000 hours | Consider proactive replacement – failure rate rises |
| 10,000+ hours | Replace preventatively. The strain gauge adhesive has likely degraded. |
Cost of proactive replacement: < $100 + 15 minutes.
**Cost of failure (downtime, misdiagnosis, lost production):** Often $1,000–$5,000.
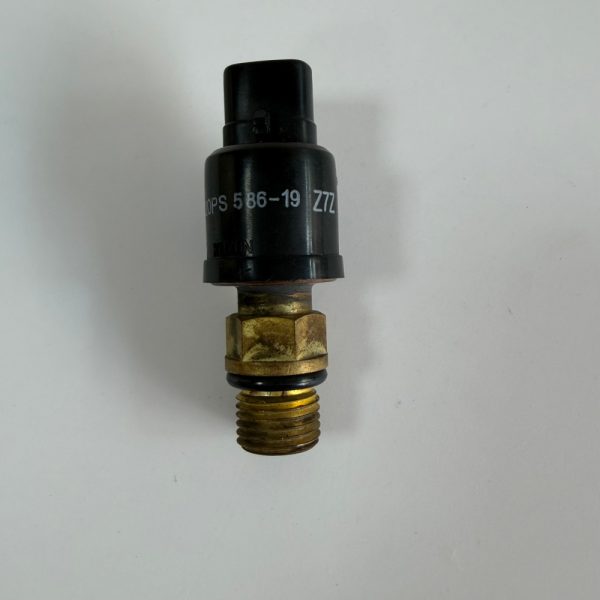
8. Product Contents – Genuine Kit
| Item | Included |
|---|---|
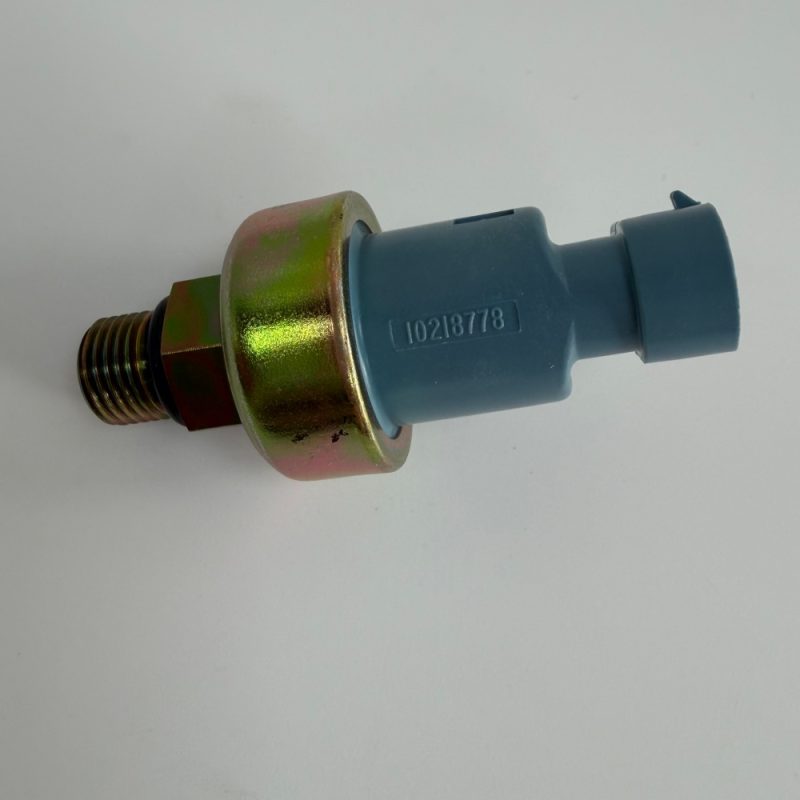
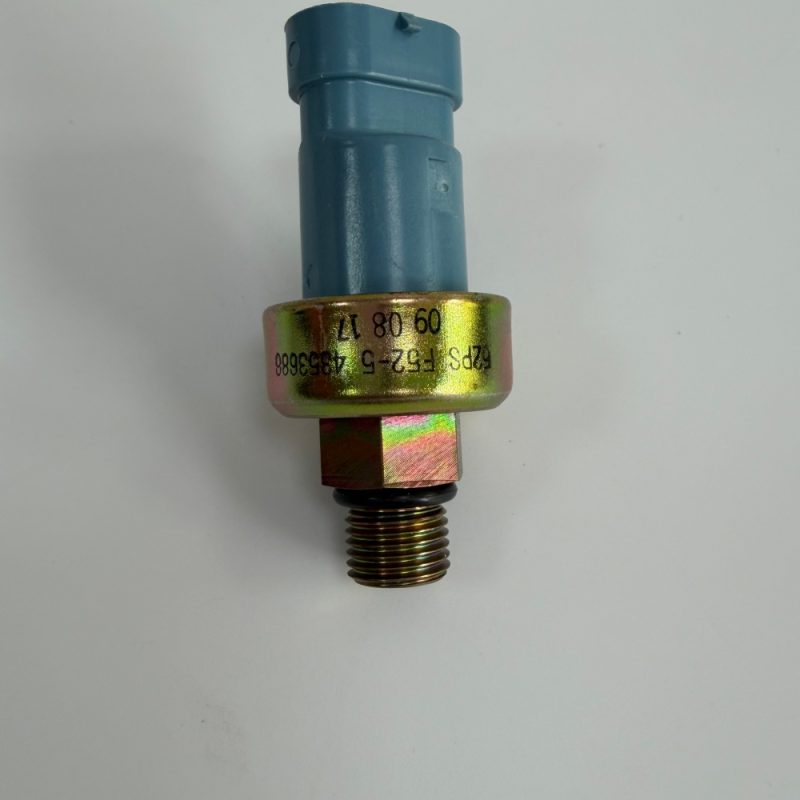
| Pressure sensor 4353686 | ✅ (Made in Japan, Hitachi branded) |
| O‑ring (for counterbore) | ✅ (Pre‑installed, NBR70) |
| Protective cap | ✅ |
| Paper box with label | ✅ |
| (Optional) 2‑pin pigtail harness | Upon request (extra, for corroded connectors) |
Not included: Thread sealant, torque wrench, dielectric grease.
9. Ordering & Delivery
| Item | Detail |
|---|---|
| MOQ | 1 piece |
| Lead time | 6–8 working days |
| Packaging | Paper box in padded envelope |
| Payment | T/T, XTransfer, PayPal, Western Union |
| Supply capacity | 300 pcs/month |
| Warranty | 6 months (manufacturing defects – strain gauge, seal, connector) |
10. Before You Order – One Photo Saves Hours
Please send:
-
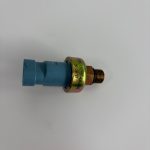
Photo of your old sensor (showing the hex size and overall shape)
-
Machine serial number (EX200-5-xxxxx or EX300-5-xxxxx)
We will confirm fitment within 24 hours.
The 4353686 is a small part with a big job. Replace it with genuine – and trust the signal.