


Description
Product Video
1. The “Slow Overheat” – Why Your Gauge Lies Without a Good Sensor
On ZAX200, ZAX200-5G, ZAX330, ZAX450, ZAX670-5G, the coolant temperature sensor 4436537 does more than light a warning lamp. It tells the ECU how hot the engine is – and the ECU takes specific actions to protect the cylinder head, head gasket, and injectors.
| Temperature Reading (Sensor) | ECU Action | What Happens If Sensor Fails Low |
|---|---|---|
| 85–95°C (normal) | Normal operation | – |
| 95–105°C (hot) | Slightly reduce fuel (to lower heat) | ECU thinks engine is cooler – no action → temperature climbs unnoticed |
| 105–115°C (very hot) | Reduce power by 30%, limit hydraulic flow | No warning → operator continues working → head warps |
| >115°C (critical) | Shut down engine after 10 seconds | ECU never sees this temperature → no shutdown → coolant boils, head gasket fails |
A sensor that reads 10°C too low (e.g., actual 105°C but sensor shows 95°C) will prevent the ECU from taking protective action. The operator sees a normal temperature gauge, but the engine is slowly cooking.
2. Real Case – A $30 Sensor Caused a $4,200 Head Gasket Failure
A ZAX330 in a Nigerian quarry had a persistent coolant loss problem. The operator topped up the radiator every week but saw no external leaks. The temperature gauge always showed 90°C – normal.
After months of this, the engine started to run rough, then overheated violently one day. The mechanic found a blown head gasket and a cracked cylinder head. Repair cost: $4,200.
The root cause? The coolant temperature sensor 4436537 was reading 12°C low. The engine had been running at 102–108°C for months, but the ECU never saw above 96°C. No warning, no power reduction, no shutdown. The operator had no idea.
The sensor was tested after removal: at 100°C (boiling water), it output a voltage corresponding to 88°C. A cheap “compatible” sensor had been installed a year earlier. The genuine Hitachi sensor would have saved the head.
3. The “Fever Curve” – How to Test Your Sensor Without Removing It
You can check the 4436537 in 10 minutes using only the dashboard monitor.
| Step | Action | What to Watch | Good Sensor | Bad Sensor |
|---|---|---|---|---|
| 1 | Cold engine (overnight sit). Turn key on. Read coolant temp on monitor. | Should match ambient air temperature (±5°C) | 25°C on a 25°C day | Shows 40°C on a 25°C day (drifts high) |
| 2 | Start engine, let it idle. Watch temp rise. | Should climb slowly and steadily | Smooth rise | Jumps suddenly (electrical noise) or stays stuck |
| 3 | Run machine under light load for 5 minutes. | Temp should reach 75–85°C | Normal | Temperature “flatlines” then jumps |
| 4 | Heavy digging for 5 minutes. | Temp should reach 85–95°C and stabilize | Stable | Keeps climbing past 100°C with no stabilization (sensor may be OK – other cooling problem) |
If the sensor passes these tests but you still suspect a cooling issue, the problem is elsewhere (radiator, fan, thermostat). Don’t replace the sensor unnecessarily.
4. The “Seasonal Failure” Pattern – Why Heat Wave Kills Sensors
We see a spike in 4436537 failures during summer months and in hot climates (Middle East, Africa, Southeast Asia). Why? The sensor’s internal thermistor is made of semiconductor material that degrades with heat.
| Operating Condition | Sensor Life Expectancy |
|---|---|
| Normal climate (max 85°C coolant) | 8,000–10,000 hours |
| Hot climate (regular 95–100°C coolant) | 4,000–6,000 hours |
| After an overheat event (>110°C once) | Sensor may fail immediately or drift |
If your machine operates in a hot environment, replace the 4436537 every 4,000 hours – before it drifts. It’s a cheap preventive measure.
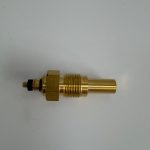
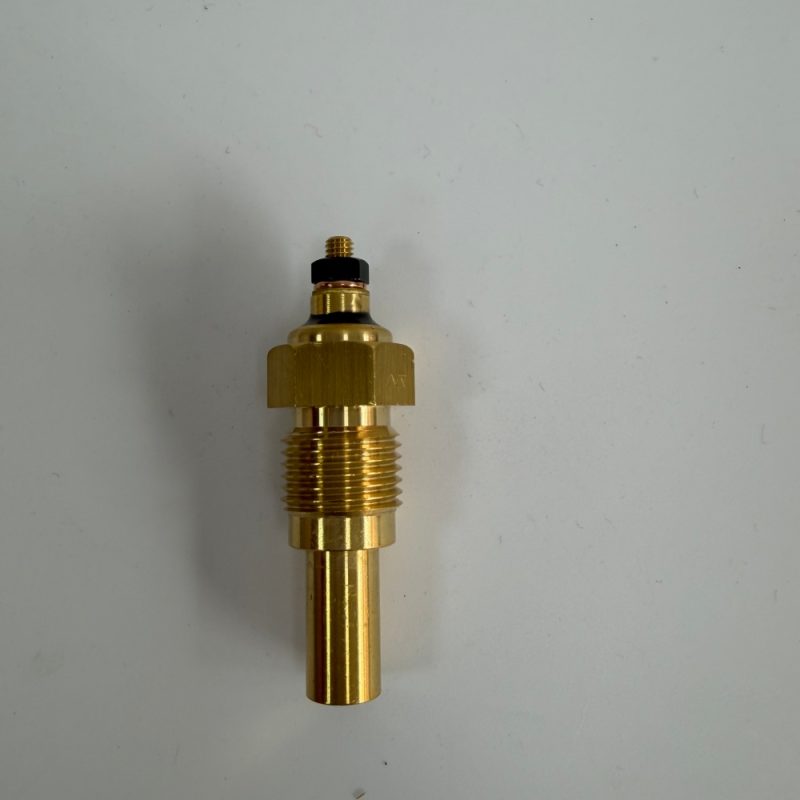
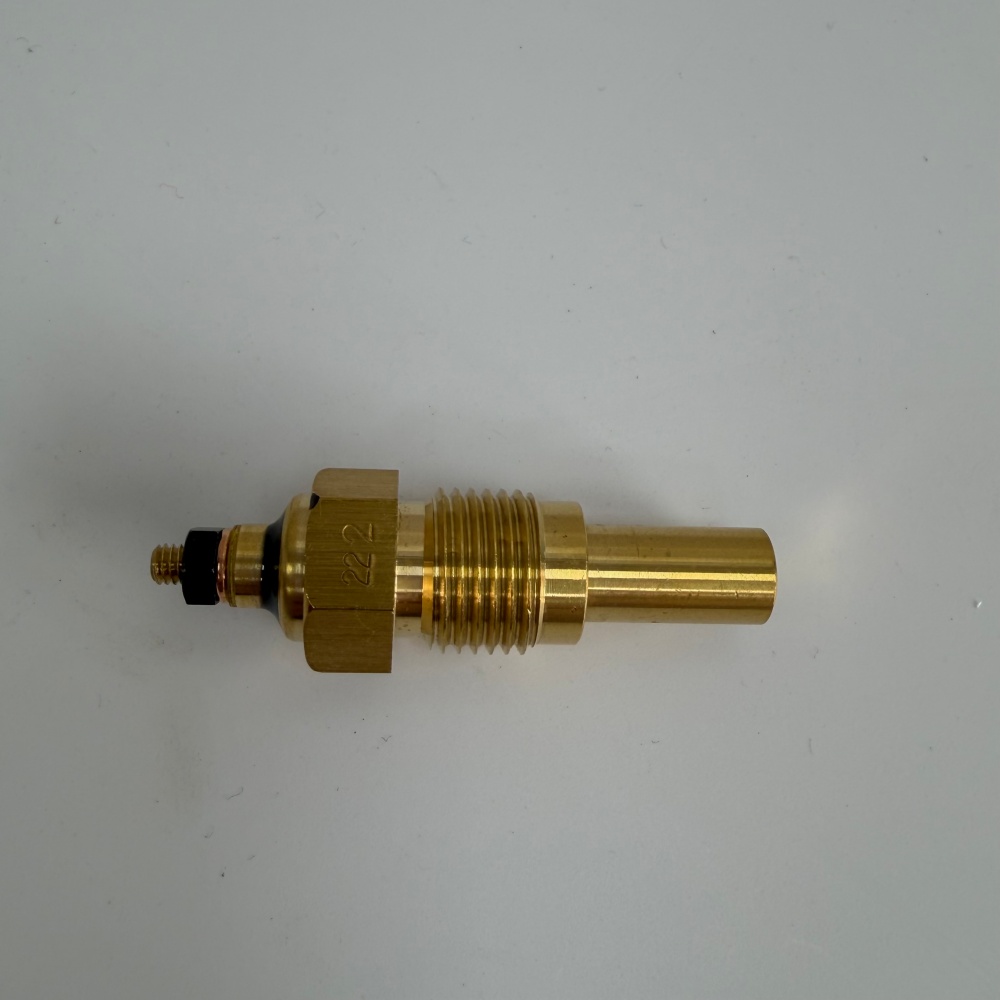
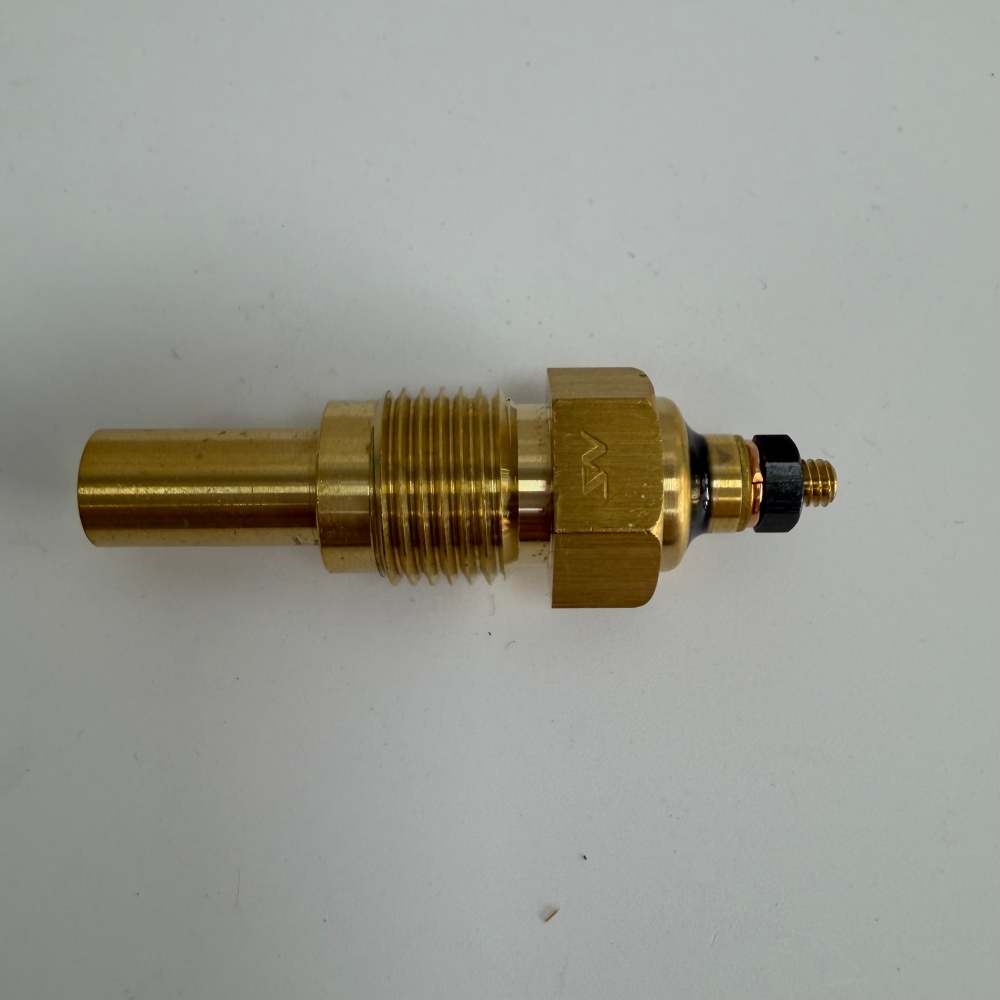
5. Installation – The M15 Thread and Sealing Quirks
The 4436537 has an M15 x 1.5 thread – uncommon. Many aftermarket sensors use M14 or M16 with adapters. Don’t accept adapters – they introduce leak paths.
| Thread | Seal Type | Torque |
|---|---|---|
| M15 x 1.5 | Taper seal (no washer – the threads seal) | 15–20 Nm (hand‑tight plus 1/4 turn) |
Important: This sensor does not use a copper washer. It seals on the tapered threads. Over‑tightening will crack the thermostat housing. Under‑tightening will leak coolant.
Installation steps:
-
Clean threads on the housing with a wire brush – old sealant residue prevents proper sealing.
-
Apply a small amount of thread sealant (Loctite 567 or equivalent) to the first 3 threads only – not the whole thread.
-
Hand‑tighten until snug.
-
Tighten with wrench: 1/4 turn past hand‑tight.
-
Fill coolant, run engine, check for leaks. If a small weep appears, tighten 1/8 turn more – do not exceed 20 Nm.
Never reuse an old sensor – the thread sealant will not re‑seal.
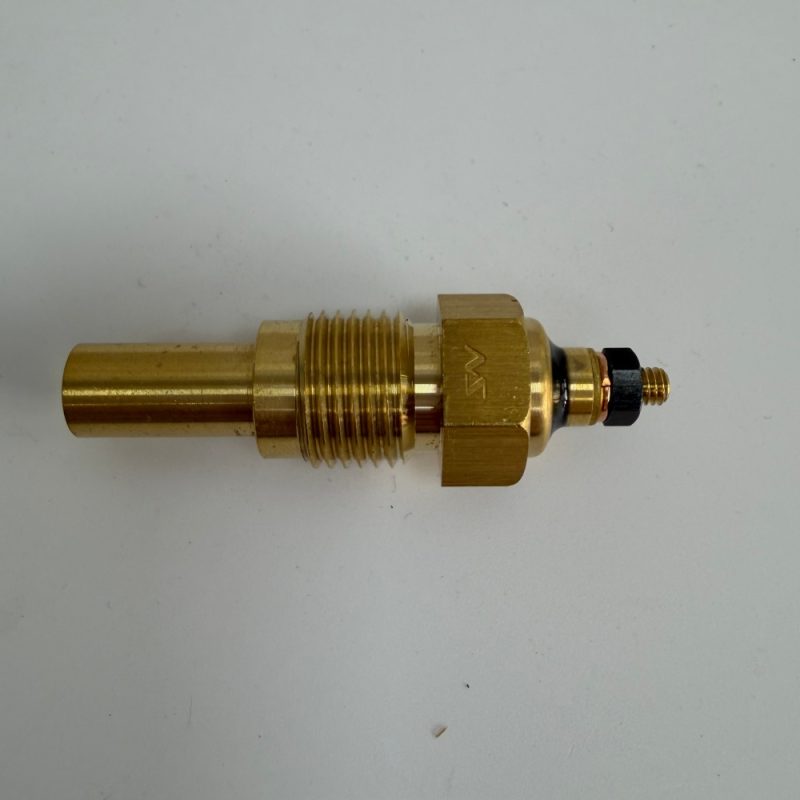
6. Product Contents – Genuine Hitachi
| Item | Included |
|---|---|
| Coolant temperature sensor 4436537 | ✅ (Japan) |
| Thread sealant (pre‑applied or separate – depends on batch) | Usually pre‑applied |
| Protective cap | ✅ |
| Paper box with label | ✅ |
Not included: Copper washer (not used).
7. Ordering & Delivery
| Item | Detail |
|---|---|
| MOQ | 1 piece |
| Lead time | 6–8 working days |
| Packaging | Paper box + bubble wrap |
| Payment | T/T, XTransfer, PayPal, Western Union |
| Supply capacity | 500 pcs/month |
| Warranty | 6 months (manufacturing defects – thermistor drift, thread damage) |
8. Before You Order – Quick Confirmation
Send a photo of your old sensor (showing the thread area and connector) and your machine serial number. We will confirm compatibility within 24 hours.
A failing coolant temperature sensor is silent – until your engine overheats and cracks a head. Test it, or replace it proactively. For the cost of a few liters of hydraulic oil, you protect a $5,000 engine component.