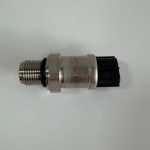
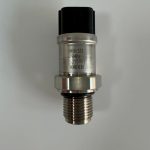


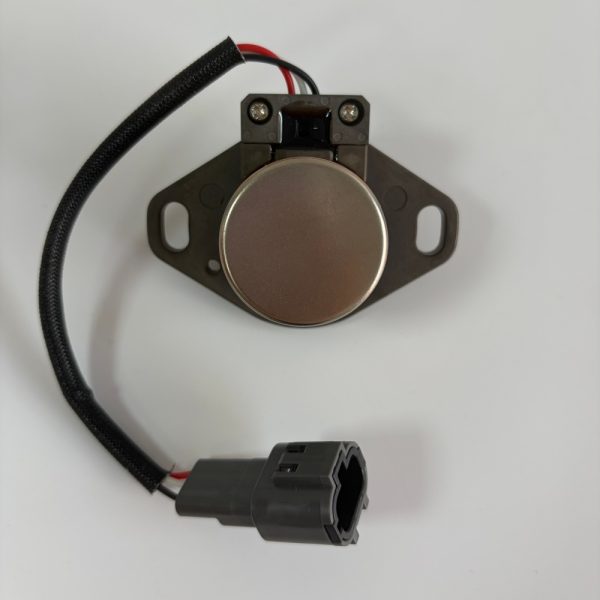
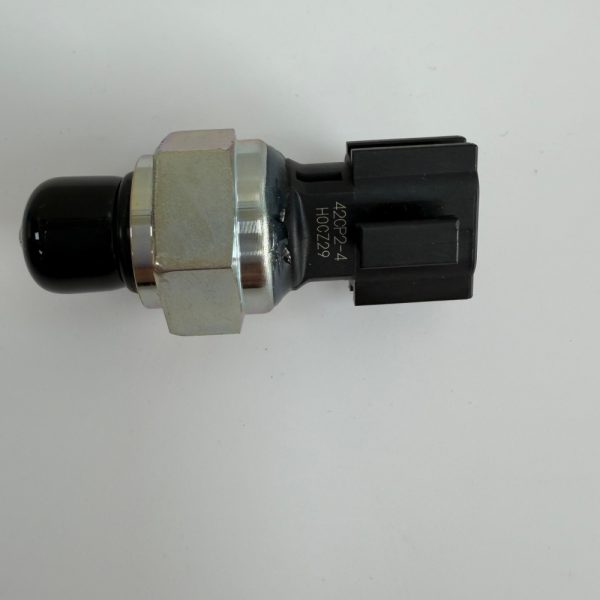
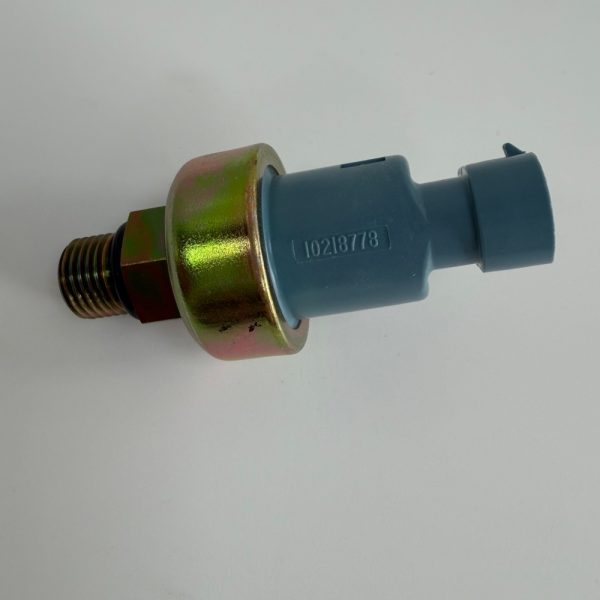
Description
Product Video
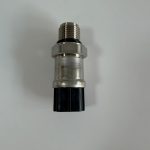
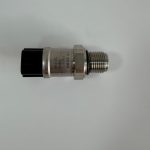
1. Three Part Numbers, One Sensor – The Interchange Guide
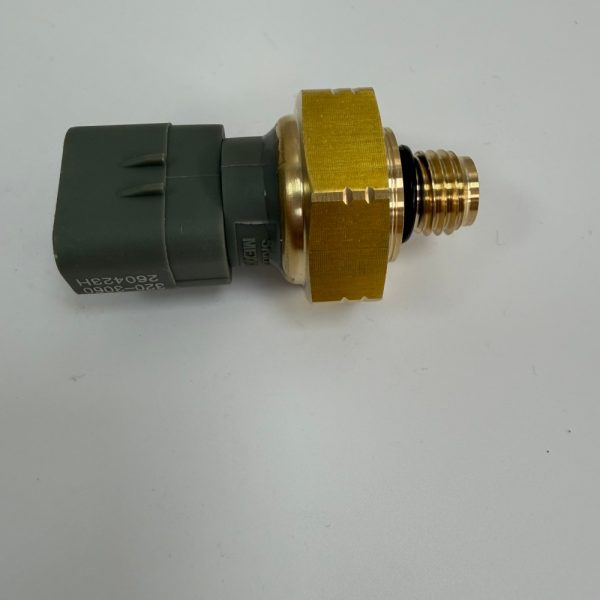
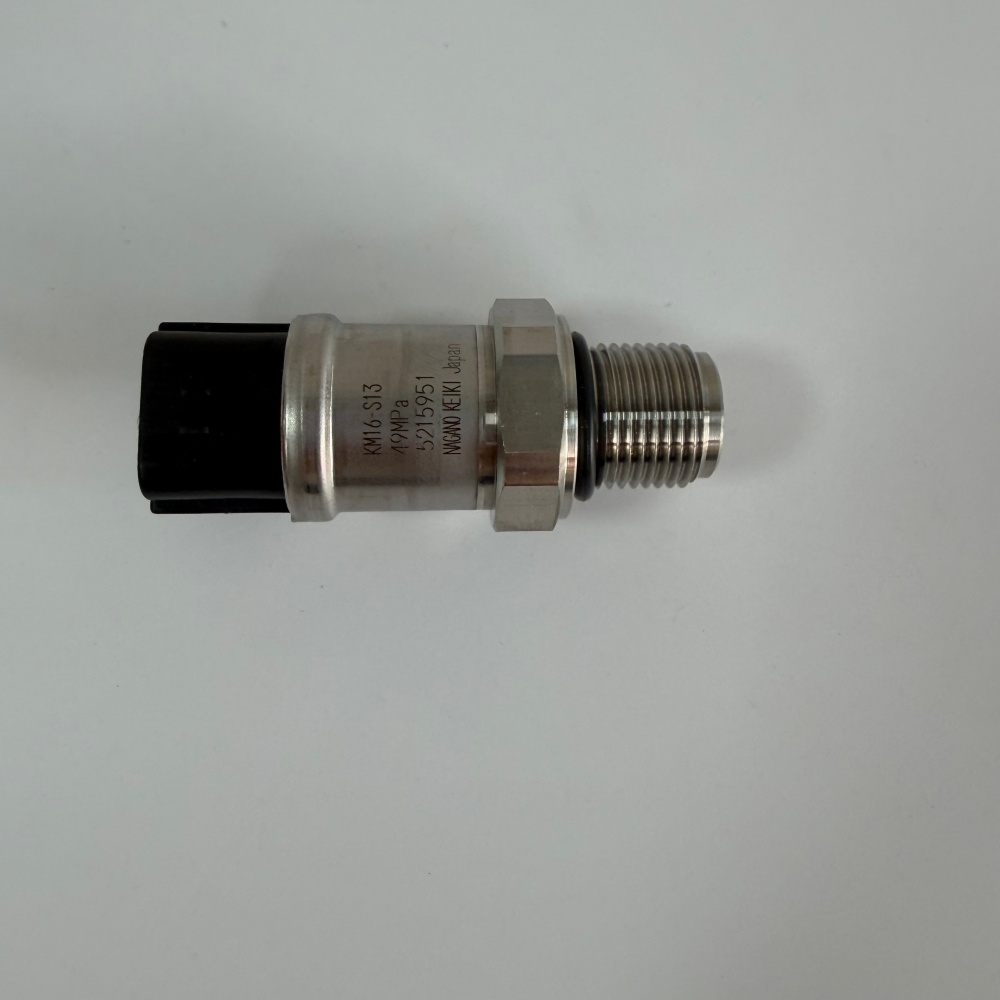
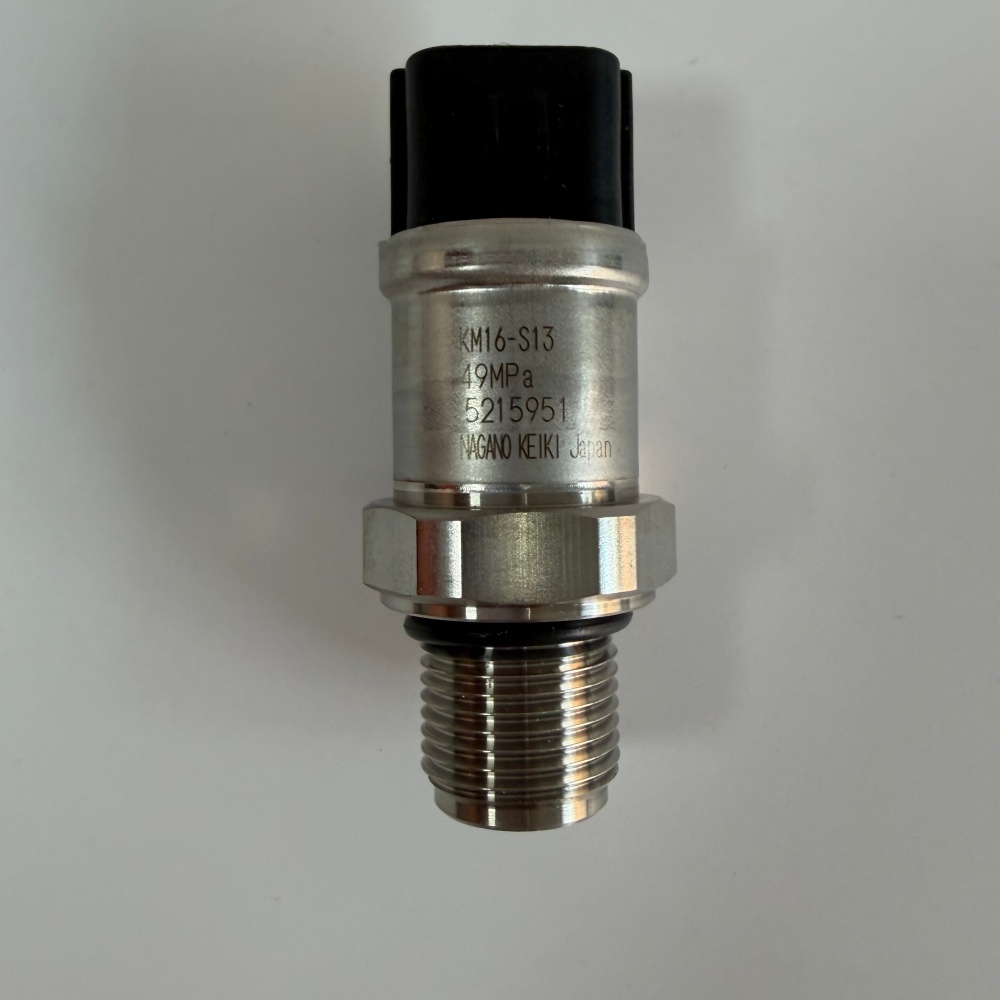
On EX200-2, EX200-3, and EX200-5, you may encounter three different part numbers that refer to the same physical sensor: 4436271, 4703324, and 4355012. They are fully interchangeable.
| Part Number | Found On | Difference |
|---|---|---|
| 4436271 | EX200-2 (early production) | Original Hitachi number |
| 4703324 | EX200-3 (mid production) | Superseded 4436271 |
| 4355012 | EX200-5 (late production) | Latest revision – same spec |
Why three numbers? Hitachi updated their part numbering system over the years, and later models used a slightly different plastic connector color (gray vs black), but the electrical and mechanical specifications are identical.
What this means for you: If you have a 4436271 sensor on your EX200-2, you can order 4355012 – it will fit and function perfectly.
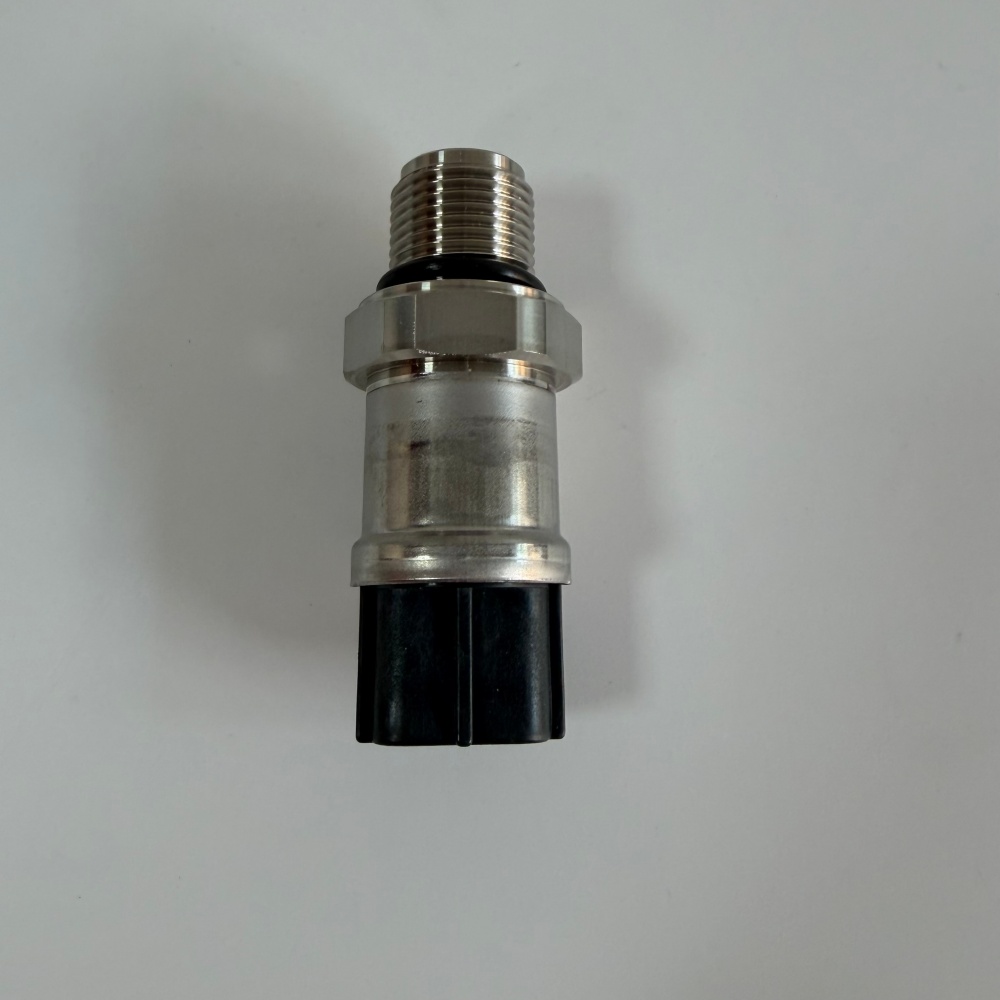
2. What “High Pressure” Means – Measuring Pump Discharge Up to 350 bar
This sensor is installed directly on the main hydraulic pump discharge port (or on the pump regulator manifold). It measures the actual pump output pressure – often reaching 350 bar (5,000 psi) during heavy digging.
| Pressure Range | ECU Action |
|---|---|
| 0–50 bar | Pump at standby (minimum flow) |
| 50–250 bar | Normal working range – pump flow matched to demand |
| 250–320 bar | Power control – ECU may reduce pump flow to prevent engine stall |
| >320 bar | Overload protection – ECU cuts pump output to prevent hose burst or component failure |
The sensor must survive thousands of pressure cycles at 350 bar. Cheap aftermarket sensors often fail in weeks under these conditions.
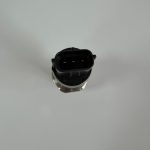
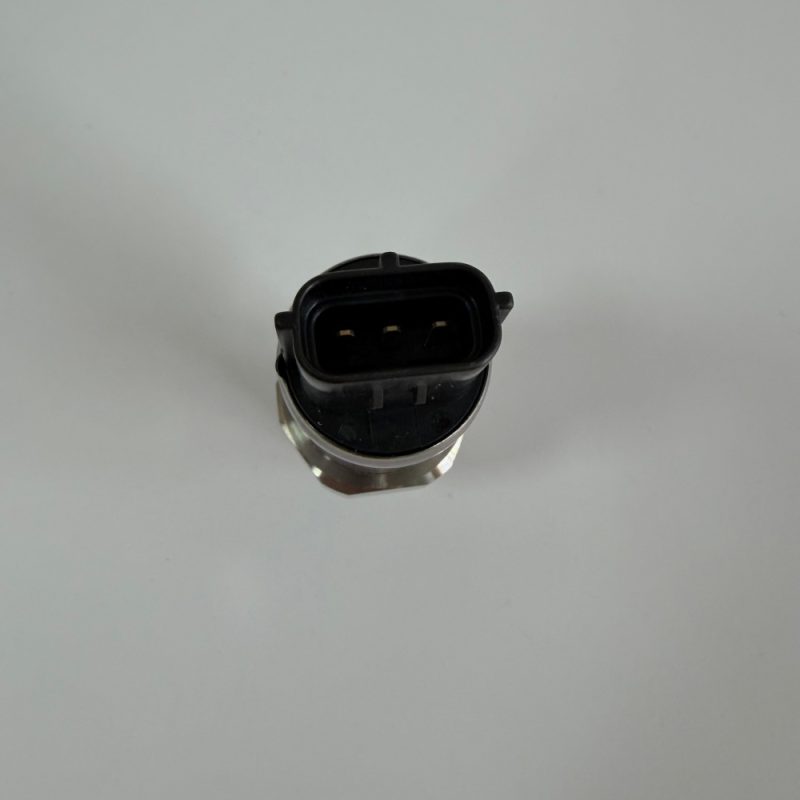
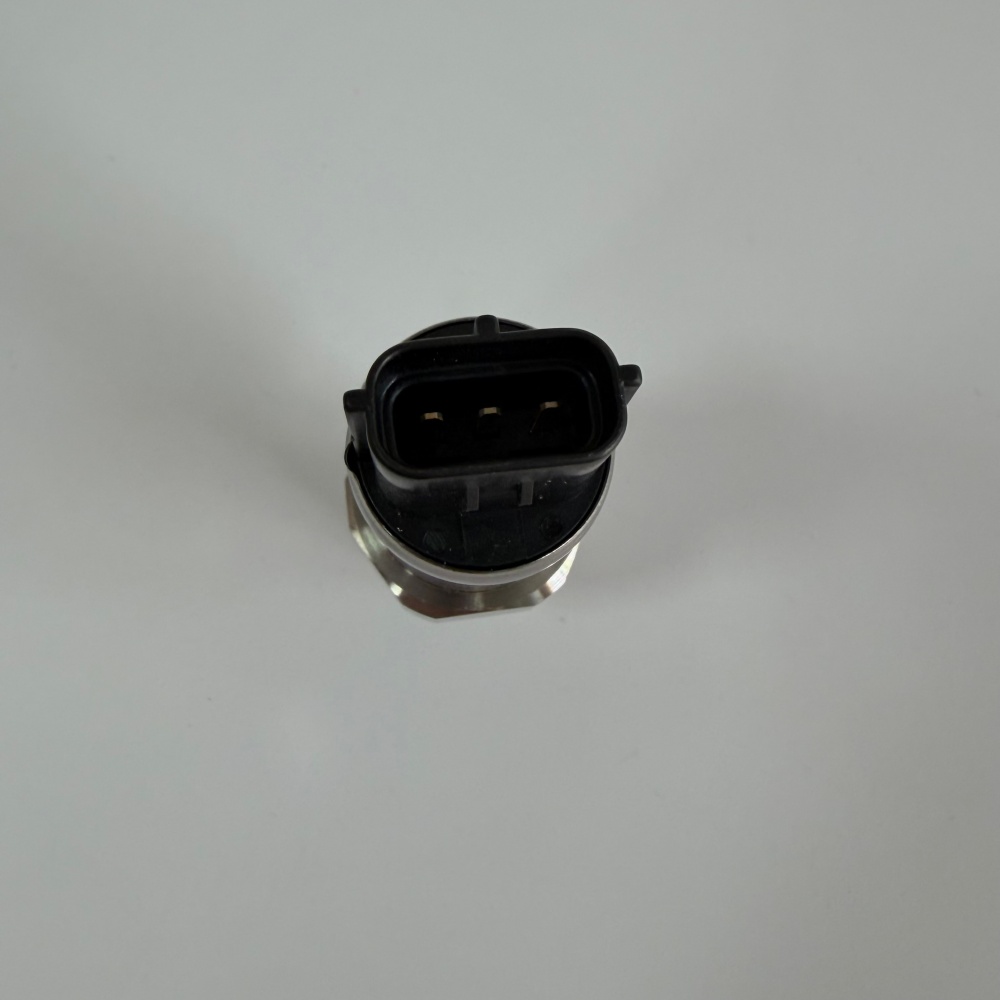
3. The 3-Pin “Active” Design – Why It Matters for Accuracy
Unlike 2‑pin sensors (which are passive), this is a 3‑pin active sensor:
| Pin | Function | Voltage |
|---|---|---|
| 1 | Vcc (regulated power from ECU) | 5V DC |
| 2 | Ground (sensor return) | 0V |
| 3 | Signal output (linear to pressure) | 0.5V (0 bar) to 4.5V (350 bar) |
Advantages of 3‑pin active:
-
No voltage drop error – The ECU supplies a stable 5V, not affected by battery voltage or harness length.
-
Fault detection – If the signal wire is cut, the ECU sees 0V and sets a code. If the ground is lost, signal floats to 5V – also detected.
-
High accuracy – ±1% of full scale (typical for Hitachi genuine).
If you install a 2‑pin sensor where a 3‑pin belongs: The ECU will not receive a valid signal. It may default to a fixed pressure value – causing poor pump control.
4. The “Overpressure” Survival Test – Why Genuine Sensors Don’t Burst
This sensor lives on the pump, where pressure spikes can exceed 400 bar (even though the system is rated for 350 bar). Cheap sensors have two failure modes under overpressure:
| Failure Mode | Cheap Sensor | Genuine Hitachi |
|---|---|---|
| Diaphragm rupture | Oil leaks through sensor into the connector – then into the harness (capillary action). The ECU may be destroyed by oil ingress. | Built with a secondary barrier – even if diaphragm fails, oil stays inside sensor body. |
| Calibration shift | After a few overpressure events, the reading becomes non‑linear. The ECU thinks pressure is lower than actual → pump overstrokes → engine bogs down or hoses burst. | Tested to 500 bar without permanent shift. |
Real consequence of a cheap sensor: You save $50 on the sensor. Then a hose bursts from overpressure. Hose replacement: $500 plus lost time. If oil sprays on a hot exhaust – fire risk.
5. Field Test – How to Verify Your High Pressure Sensor Without Removing It
Because this sensor is on the pump discharge, you can compare its reading to a mechanical pressure gauge.
| Tool Needed | Where to Connect |
|---|---|
| Mechanical pressure gauge (0–400 bar) | Pump discharge test port (usually a hex plug near the sensor) |
Test procedure:
-
Connect mechanical gauge to test port.
-
Start engine, warm up.
-
Read sensor value on the monitor (or via diagnostic tool) and compare to mechanical gauge.
-
Perform at three points: idle (no load), mid‑load (partial lever), and full load (stall the bucket against a solid object).
| Difference Between Sensor and Gauge | Verdict |
|---|---|
| <5 bar | Sensor good |
| 5–15 bar | Acceptable for older machines |
| >15 bar | Sensor drifting – replace |
| Erratic reading (jumps) | Internal failure – replace |
If you don’t have a mechanical gauge: A rough test – when you stall the bucket, the monitor pressure should reach at least 300 bar. If it stops at 250 bar and won’t go higher, the sensor may be reading low.
6. Real Case – The “Weak Digging” That Almost Killed an Engine
An EX200-3 in the Philippines felt weak. The owner assumed the main pump was worn – a $2,500 rebuild. Before doing that, a mechanic connected a mechanical gauge to the pump. The gauge showed 320 bar under load. The monitor (reading the sensor 4436271) showed only 200 bar.
The sensor was reading 120 bar low. The ECU thought the pump was working fine, so it didn’t command more flow. The pump was actually capable, but the sensor was lying.
Fix: One new sensor (4436271/4355012). Cost: under $150. The machine dug normally immediately. The owner saved $2,350 on an unnecessary pump rebuild.
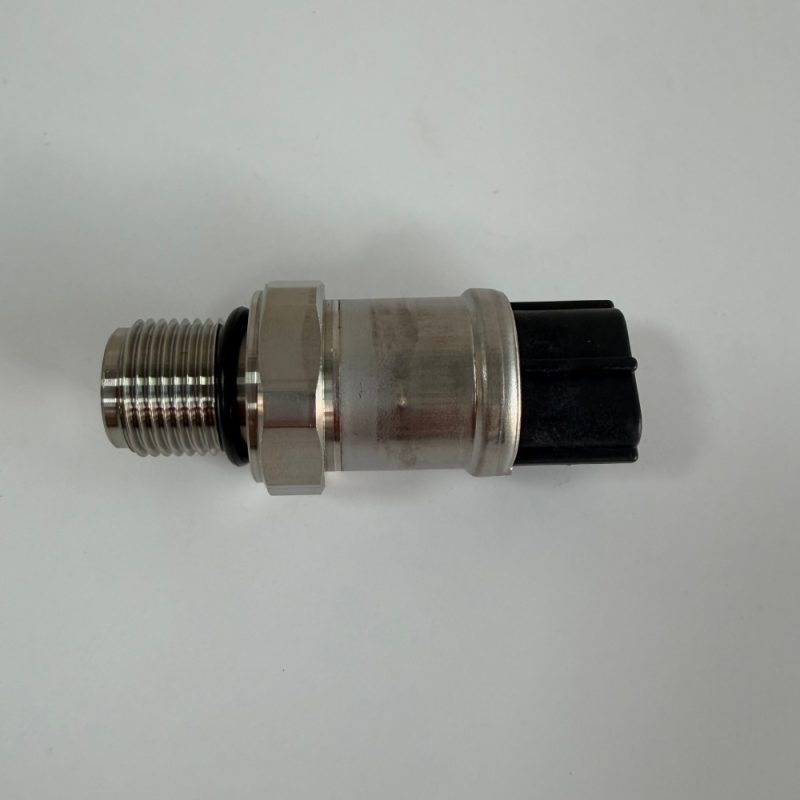
7. Installation – The 18mm Thread Specifics
Thread is M18 x 1.5 (standard metric fine). This is a common size, but do not mix with other sensors.
| Step | Action | Torque |
|---|---|---|
| 1 | Clean port threads and mating surface | – |
| 2 | Check copper sealing washer (included). Replace if damaged. | – |
| 3 | Hand‑thread sensor until snug. | – |
| 4 | Tighten with wrench | 30–35 Nm |
Do not use PTFE tape or liquid sealant – the copper washer provides the seal. Sealant can contaminate the hydraulic system.
The sensor length (67.5mm) is critical – some aftermarket sensors are shorter and do not reach the pressure port correctly. Measure your old sensor before buying.
8. What’s in the Box – Genuine Packaging
| Item | Included |
|---|---|
| High pressure sensor (4436271 / 4703324 / 4355012) | ✅ (Made in Japan) |
| Copper sealing washer | ✅ (Pre‑installed or separate) |
| Protective cap (on threads) | ✅ |
| Paper box with Hitachi label | ✅ |
Not included: Harness connector (part of machine harness). If your harness plug is damaged, we can supply a replacement pigtail (3‑pin, waterproof) – ask.
9. Ordering & Delivery
| Item | Detail |
|---|---|
| MOQ | 1 piece |
| Lead time | 6–8 working days |
| Packaging | Paper box + bubble wrap in carton |
| Payment | T/T, XTransfer, PayPal, Western Union |
| Supply capacity | 300 pcs/month |
| Warranty | 6 months (manufacturing defects – diaphragm, electrical drift) |
10. Before You Order – Verify Which Part You Need
Send us:
-
Photo of your old sensor (showing the connector, any visible part number, and the overall length – 67.5mm)
-
Machine serial number (EX200-2, EX200-3, or EX200-5)
We will confirm interchangeability within 24 hours.
The high pressure sensor is the eyes of your pump control system. Don’t let false readings destroy your productivity – or your pump.